

Autonomous Floor Cleaning Made Easy
How to Operate your PowerBoss ScrubMaster AMR Floor Scrubber
Here’s a quick, handy guide on how to get up and running with your new PowerBoss AMR Autonomous Robot Floor Scrubber!
Step 1: Initial Set Up (Start watching at 0:15)
Here, you’ll go through the simple process of setting up your AMR. Turn on your machine and wait for the home screen to appear. Type in your unique PIN number for your machine (can be found in the manual). Once your machine has connected to the network, tap on “Settings” and select “Mobile Alerts.” Follow the instructions on screen to receive text alerts from your machine while it’s in use. You will receive a confirmation text once you’ve been connected to your machine.
Next, simply fill up the solution tank. This tank can hold up to 16 gallons of water/detergent. Follow the instructions on your detergent’s container for the proper dilution. For best results, be sure to use Bortek Cleaning Chemicals. That’s it! You’re ready for setting up your routes.
Step 2: Program Your Routes (Start watching at 0:49)
The AMR can be programmed to either clean a specific Route you set for it as well as a dedicated area that you set boundaries for. The process is the same. You will always start and end where your QR code is posted in your building.
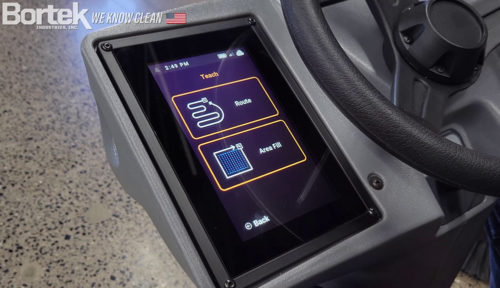 To set a specific path to clean, simply tap “Teach,” select “Route,” and follow the on-screen prompts (engage scrub mode & move forward to start). Scrub the path you want the machine to follow and be sure to end where you started.
To set an area for your scrubber to clean, simply tap “Teach,” select “Route,” and follow the on-screen prompts (engage scrub mode & move forward to start). Drive your floor scrubber around the area you wish to clean. Be sure to start and end at the QR code you have posted. The built-in cameras and lidar will detect any obstructions as it figures out how to clean every bit of available floor space within those boundaries.
For both of the above cleaning methods, once you’ve ended your route at the QR code, tap “Done” and name the route you just set (if you don’t name it, the system will automatically assign it a name). Now let’s get to the fun stuff.
Step 3: Initiate Autonomous Cleaning (Start watching at 1:42)
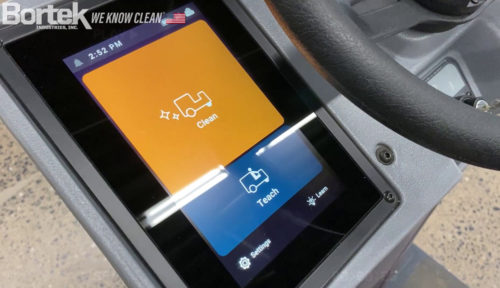
This is easy, you simply pull up to the QR code that contains the cleaning routes you want to execute, and tap “Clean” on the home screen of your AMR. Once your machine has scanned the code, select the desired cleaning routes that need completed. Be aware, you can chain together routes so your machine will complete the first route you set and immediately start on the next one you set. Once you’ve chosen the routes, tap on “Done.”
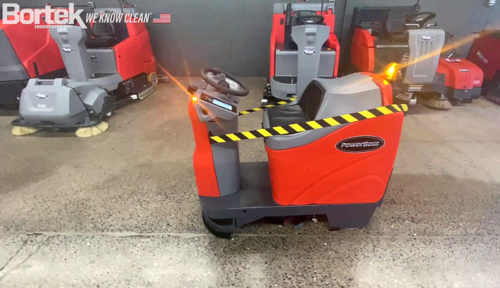
Next, just secure the black and yellow straps to the steering column and tap the “Start/Pause” button on the back of the machine. Off it goes!
Step 4: Empty the Recovery Tank (Start watching at 2:32)
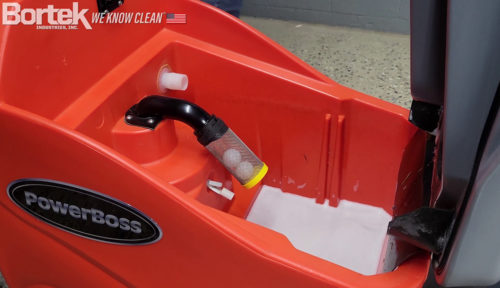
This is super easy to do, once your machine is done cleaning. Simply flip up the seat, grab the drain hose, unscrew the top of the hose, then lower the hose to drain. Once the tank is empty, just rinse out the tank and secure the hose! We recommend leaving your (now) clean recovery tank open while on a charger or overnight to avoid smells and bacteria from forming.